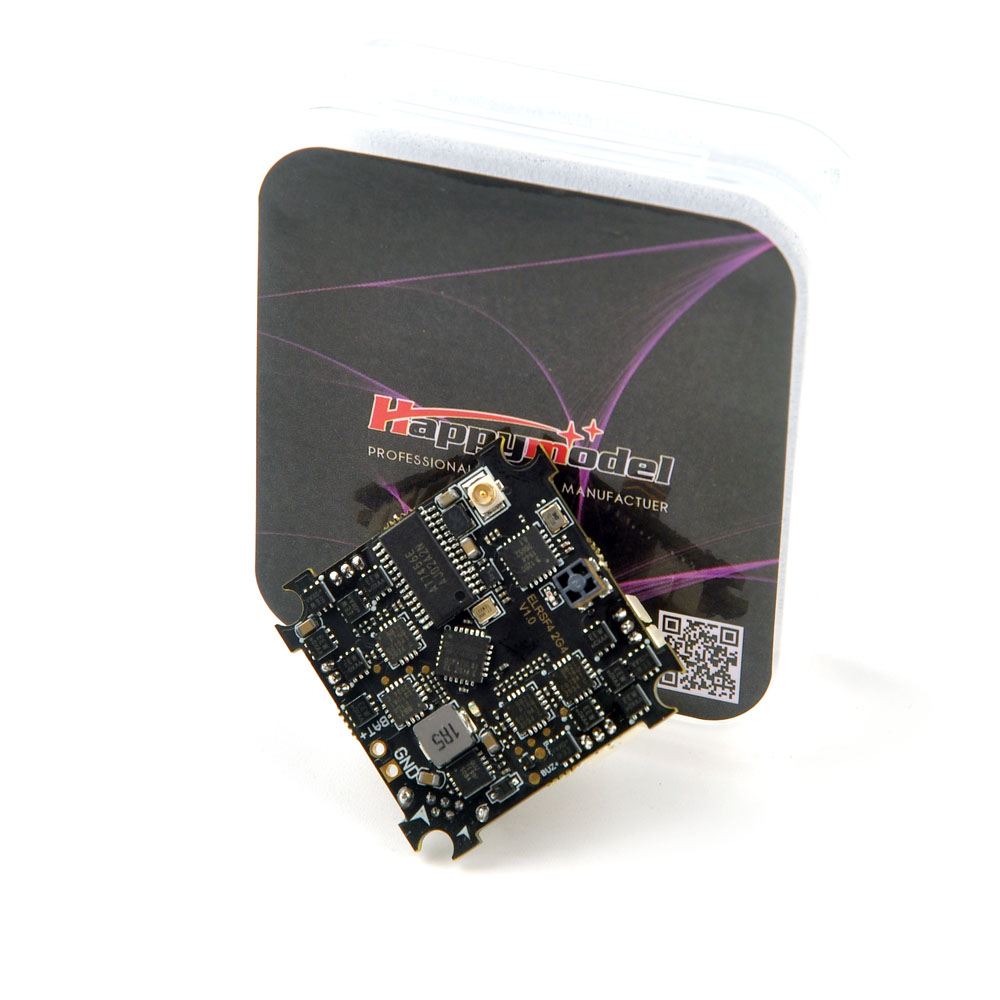
Crazybee ELRS F4 V3.1 AIO 400mW 5in1 Flight controller built-in 2.4GHz
¥ 8,950 税込
商品コード:
関連カテゴリ
受信機・VTXも400mWのハイパワーが付属したF4オールインワンFC+ESC!
MPU6000 から ICM20689 に変更となり、より高性能になりました!
カメラを付けるだけでの簡単装着!
ワンボードで軽量な機体に仕上げることが出来ます
2.4G ELRS対応の受信機内蔵!
※注意
PIDループ周波数は2kHzに変更してください
その値が「8kHz」である場合、SPI受信機が正しく動作しなくなる可能性があります
Specifications:
Flight controller
MCU:STM32F411CEU6 (100MHZ, 512K FLASH)
Gyro Sensor: Updated to ICM20689 since V3.1 version
Original whoop size compatible
Power supply: 1S battery input (DC 2.9V-4.35V)
Built-in 5A(each) Blheli_S 4in1 ESC Dshot600 ready
Built-in Betaflight OSD(SPI Control)
Built-in 5.8G Open VTX
Built-in SPI ExpressLRS 2.4GHz receiver
Built-in 5V 1A BEC
Flight controller firmware target: CRAZYBEEF4SX1280
Onboard 4in1 ESC
MCU upgraded to EFM8BB21
Power supply: 1S LiPo/LiPo HVCurrent: 5A continuous peak 6A (3 seconds)
Support BLHeliSuite programmable
Factory firmware: O_H_5_REV16_8.HEX
Default protocol: DSHOT600
Onboard SPI ExpressLRS 2.4GHz Receiver
Packet Rate option: 25Hz/50Hz/150Hz/250Hz/500Hz
RF Frequency: 2.4GHzAntenna : SMD antenna
Telemetry output Power: <12dBm
Receiver protocol: SPI ExpressLRS
Could bind with Happymodel ES24TX , ES24TX Lite, ES24TX Slim and DIY 2.4GHz ELRS TX module(Requires ELRS V2.0 firmware)
Onboard 5.8g Openvtx
Output power: 0mw~400mw switchable
Frequency: 40CH
Input voltage: 3.3V 5.5V
Current consumption: 300mA(type)
Frequency: 5.8GHz 5bands 40 channels(include Race band)Smartaudio ready
Onboard voltage and Amperage meters settings
Voltage meter scale setting 110
Amperage meter scale setting 1175
Bind procedure:
1.Power the flight controller by connecting USB. Please make sure that the port driver of the flight controller is correctly installed on the computer, then open Betaflight Configurator(Latest version) to connect, enter to the “receiver” interface, and then click “Bind Receiver”, the red LED at the bottom of the flight controller will flash quickly, which means that the SPI ELRS receiver enters the bind mode. There is another way to make the receiver enter the bind mode: after connecting to the Betaflight configurator, move to the CLI interface and enter “bind_rx” in the command line.
2.After correctly connecting the ES24TX or ES24TX Lite/Slim module or DIY 2.4G ELRS TX module to your Opentx radio transmitter, copy the latest version of ELRS.LUA file to the SD card in the remote controller. The directory is “SD Card/Scripts/tools”, Then run ELRS.LUA and upgrade the specified TX frimware through Wifi, and then click “bind” to link with the SPI ExpressLRS receiver. Note: You need to adjust the Packet Rate to 500Hz from the ELRS interface of your radio controller before binding.
3.After the binding is successful, the Red LED at the bottom of the flight controller will getting to be solid, and the telemetry can be received at the same time.
4.The meaning of the LED status of the SPI receiver: the LED is getting to be solid, indicating that the bind is successful or the connection and communication is normal, the LED flashing quickly indicates that the receiver is in binding mode, and the LED flashing slowly indicates that the there is no signal received from the radio controller.
Package Included:
1*AIO 5in1 Flight Controller build in Receiver
Since Betaflight has not yet released the official firmware that could supports the SPI Expresslrs protocol, the current version is the Beta version .
Betaflight will update it to their official target soon. Please feel free to contact with us if you have any issues with this Beta version Firmware
Firmware download: ELRS F4 2G4_Betaflight_4.3.0_STM32F411_1.0.0-RC5 and Diff Document
ExpressLRS TX firmware(which could bind with ELRS F4 2G4) download: ELRS F4 2G4 TX Firmware RC3
ELRS.LUA download: ELRSlua Latest